Last reviewed: April 2026
I’ve been running solar on a ProMaster for eight years. Our current setup is 3x Renogy 100W slim panels paired with a Bluetti Charger 2 that handles both solar and alternator input. We’ve run this system through San Diego winters, Colorado summers, Florida heat, and New York shoulder seasons.
The single thing I’d change: I’d go 500–600W instead of 300W. The 300W system is adequate on clear days in good sun. Colorado winters, overcast weeks, and high-draw periods push it harder than I want. I’ve had stretches where I was genuinely managing every watt. If I were building today, I’d size up on panels from the start — they’re cheap relative to the rest of the system, and you can’t add them easily after the fact.
Everything below is what I’d do knowing what I know now.
Quick Answer
Most budget builders should start with 400–600W of panel capacity paired with a battery system you can expand later. Oversizing too early is one of the fastest ways to blow a build budget; undersizing is the most common regret.
Best all-around value for new builders: Renogy 100W Slim panels in a modular 4–6 panel setup, with a quality MPPT controller and a battery system you can scale.
Renogy 100W Slim Panel
Best For: Stealth + modular roof layouts
Price: $$
Pros: Slim profile and easy expansion
Cons: Slightly higher cost per watt
HQST 200W Solar Kit
Best For: Lowest entry price
Price: $$
Pros: Strong starter value
Cons: Bundle component quality varies
Portable Suitcase Solar Kit
Best For: Weekend users
Price: $$
Pros: No roof drilling required
Cons: Lower long-term value per watt
Is this solar plan right for you?#
Tap the situation that sounds like you.
🏔️ Full-time, traveling through varied climates. 500–600W minimum
Don't make my mistake. 300W is adequate in San Diego sun and tight everywhere else. Plan for at least 500–600W from the start — it's the difference between solar carrying the load and solar being a supplement that disappoints.
Pair with a power station that has strong fast-charge so shore power can backfill cloudy weeks. Solar vs alternator covers the recovery hierarchy.
🏖️ Mild climate, sunny region, light loads. 200–400W is plenty
San Diego, Arizona, southern California year-round? 200–400W with a battery sized for a day of normal use will do the job. Don't oversize on panels you'll never need.
🚐 Renter or no-roof-drilling build. Portable solar + power station
Portable suitcase panels paired with a power station get you working without permanent install. Cost per watt is higher long-term, but install risk is zero. Start here if you're not sure about full commitment to the build.
☁️ I park in heavy shade or cloudy regions often. Solar can't carry it
If solar harvest is unreliable, you need recovery via shore power and alternator more than you need bigger panels. Look at fast-charging power stations first — your daily reset comes from the wall, not the roof.
What 8 years of van solar taught me#
300W was my biggest "would-do-differently" +
We've been on 300W for eight years — three Renogy 100W slim panels. It works in San Diego. It works on a sunny Colorado day. It runs tight everywhere else.
The math: panels are the cheapest part of the build per watt. Adding 200W up front would have cost a few hundred dollars. Going back to add capacity later means re-running wire, possibly upgrading the controller, and re-mounting on a roof that's now full of other stuff. Buy the size you'll wish you had.
San Diego winter — easy mode +
Mild temperatures, consistent sun, clear skies most days. Our 300W system handles everything without strain. If I only ever parked in San Diego, I wouldn't need more panels. This is the climate that fools you into thinking 300W is fine.
Colorado summer — surprisingly variable +
Denver and the eastern plains are good sun territory. Get into mountain campgrounds at altitude and you have shorter days, tree cover, and afternoon storms that cut your harvest window. The 300W system runs tight in extended mountain camping without driving enough to top off via alternator.
Florida heat — solar harvest is fine, the load isn't +
Hardest load condition, not the worst solar condition. Good sun in Florida summer, but the fridge runs 20–25W because of the heat versus 10–12W in mild climates. Your harvest goes up slightly, your draw goes up more. 300W stays adequate but leaves less margin.
New York shoulder season — solar drops off hard +
Northeast winter solar is weak. Short days, frequent overcast, low sun angle. If I were parked in the Northeast for extended winter stretches, I'd be much more reliant on alternator charging and shore power. The panels become supplemental here, not primary.
The lesson: size your solar for your hardest conditions, not your easiest. San Diego makes you think 300W is fine. Colorado mountains and overcast Northeast weeks tell you otherwise.
Top picks#
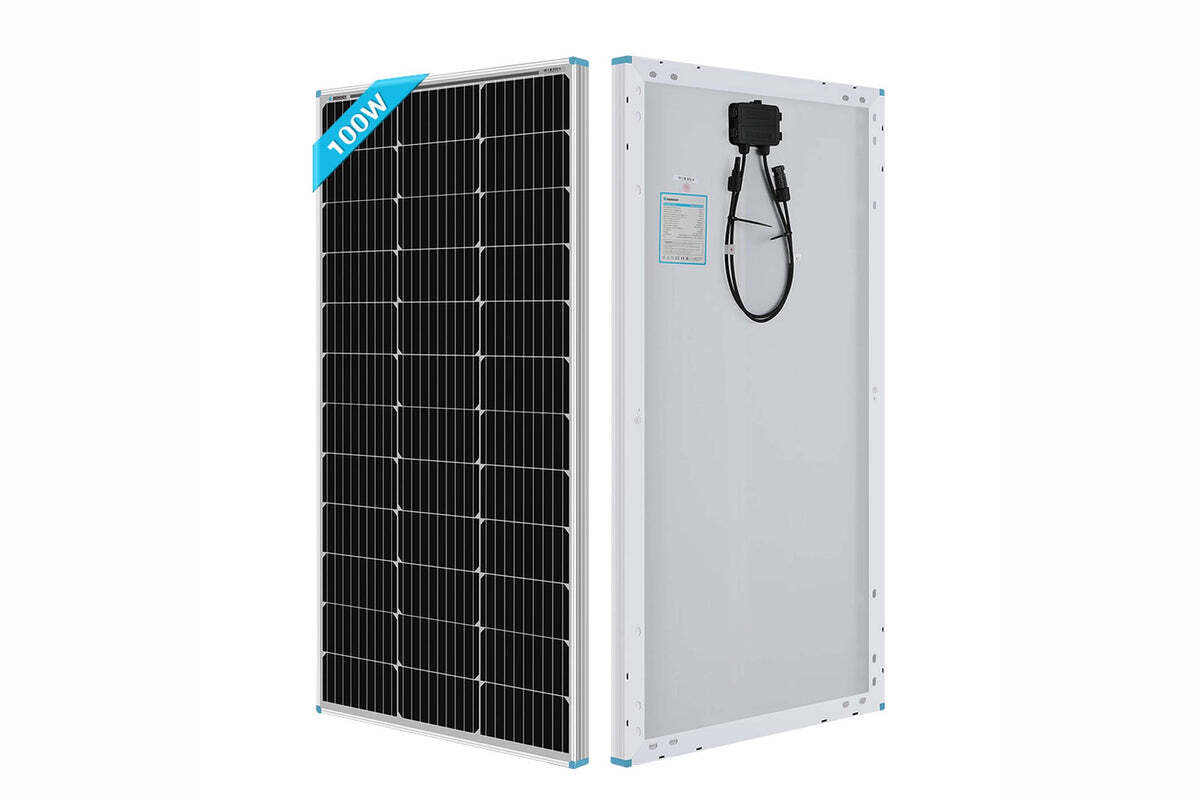
The middle ground for full-time or long-trip use. Slim profile helps on stealth roofs; you can build in phases. Start with 4x100W (correcting my own 300W regret), add matching panels later, keep wiring and controller sized for future growth.
Shop at RenogyBuy on Amazon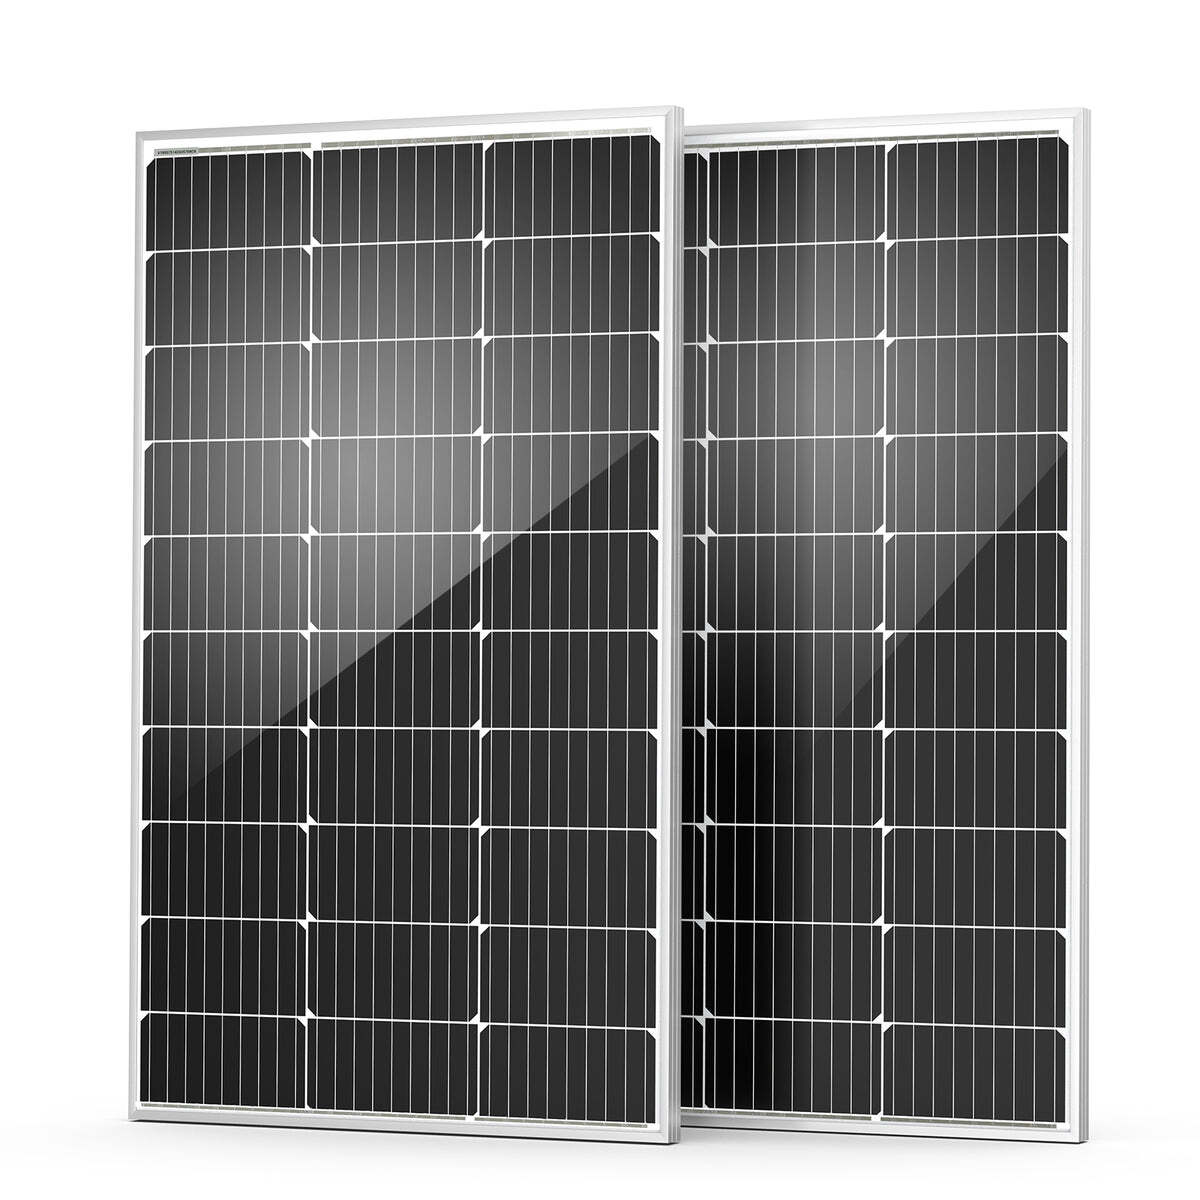
Lower-risk entry. Tradeoff is inconsistent controller bundles — if you choose this route, budget for a controller upgrade. Good for learning the install process before committing to a larger system.
Check Amazon PriceFor renters or people delaying roof installs. Long-term cost per watt is higher, but install risk is minimal. Pair with an under-$500 power station for a complete weekend-capable setup.
Common solar mistakes#
Buying panel wattage before measuring real roof space +
Roof layout controls what's actually realistic. Plan around your fan placements, vents, racks, and clearance edges first. Then size the panels to fit, not the other way around.
Ignoring wire losses and fuse placement +
Reliability matters more than saving $20 on copper. Cheap wire and shoddy fuse placement is where solar setups quietly fail — voltage drop, intermittent connections, and fire risk on high-current runs.
Undersizing because you tested in good sun +
This is my whole 300W regret in one sentence. Size for your worst conditions, not your easiest. The panels are the cheap part of the build — buy more than you think you need.
Building for hypothetical future loads +
Don't oversize for an air conditioner you might add or an induction setup you might want. Build for the loads you have today plus a 30–50% buffer. Add capacity when real usage demands it, not when you're imagining it.
Frequently asked#
How much solar do I need for van life? +
For full-time across varied climates: 500–600W. For mild-climate or part-time: 200–400W often works. Size for your hardest conditions, not your easiest.
Is portable solar enough full-time? +
It can work for light loads, but roof-mounted solar is usually better for convenience and consistency. Setting up panels every parking session gets old fast.
Should I start with lithium batteries? +
If budget allows, lithium often wins long-term. But a phased system is better than waiting forever for a perfect system. Start with what fits the budget today, plan to upgrade.
Solar vs fast charging — which matters more? +
Both. Solar is cheap recovery in good sun; fast charging is your reliable reset when sun fails. The right system has both. See solar vs fast charging for the direct comparison.
Start with the right size